
Screen Printing Uniforms (The Ups and Downs of Doing Things Yourself)

Written by Counter
February 8, 2023
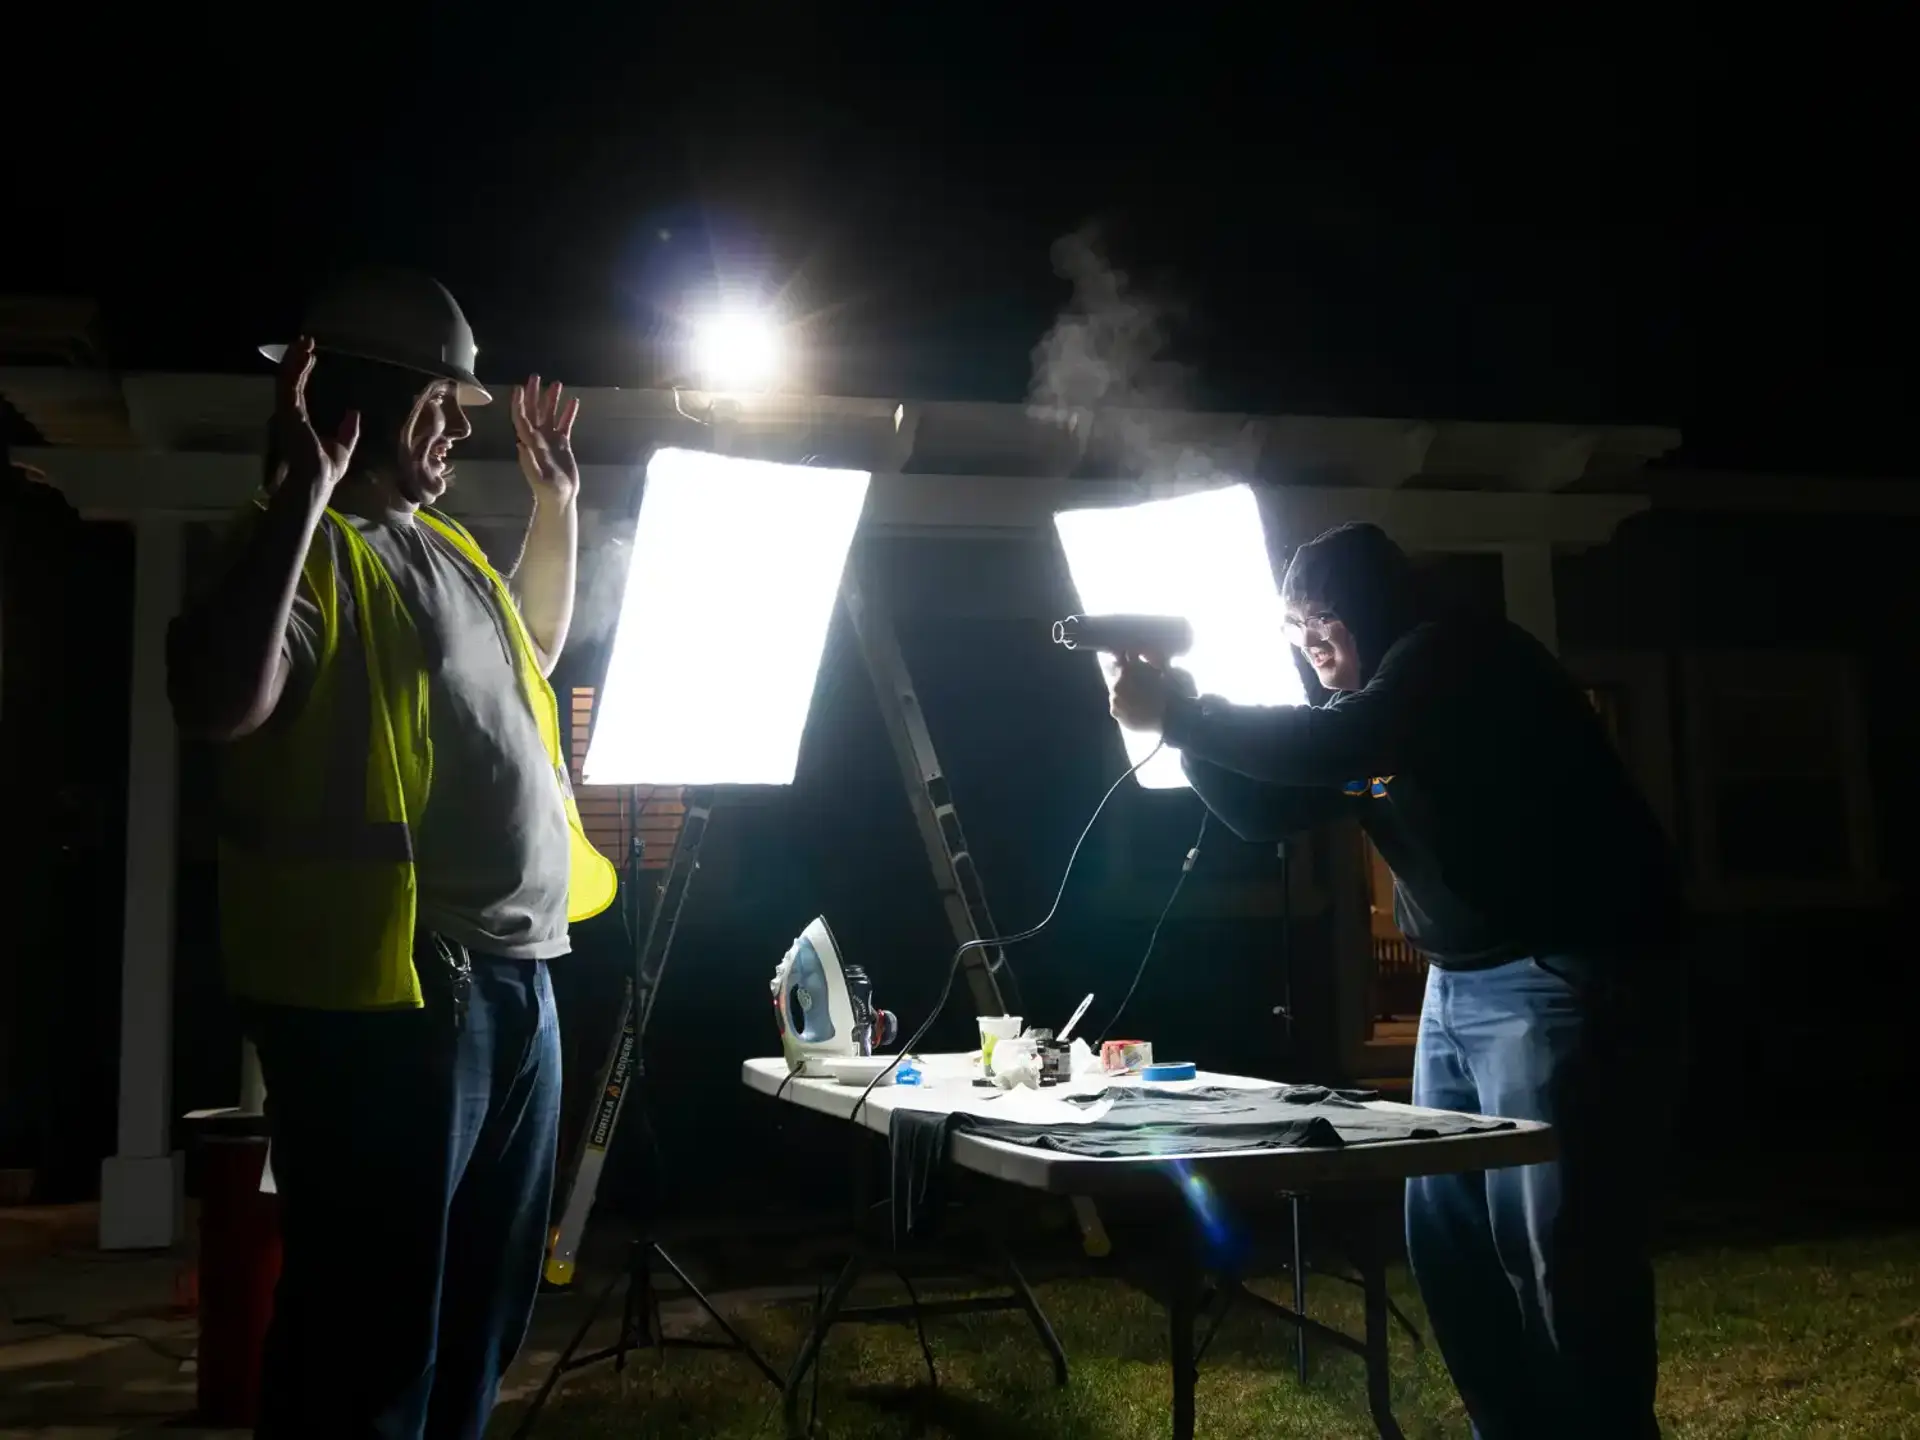
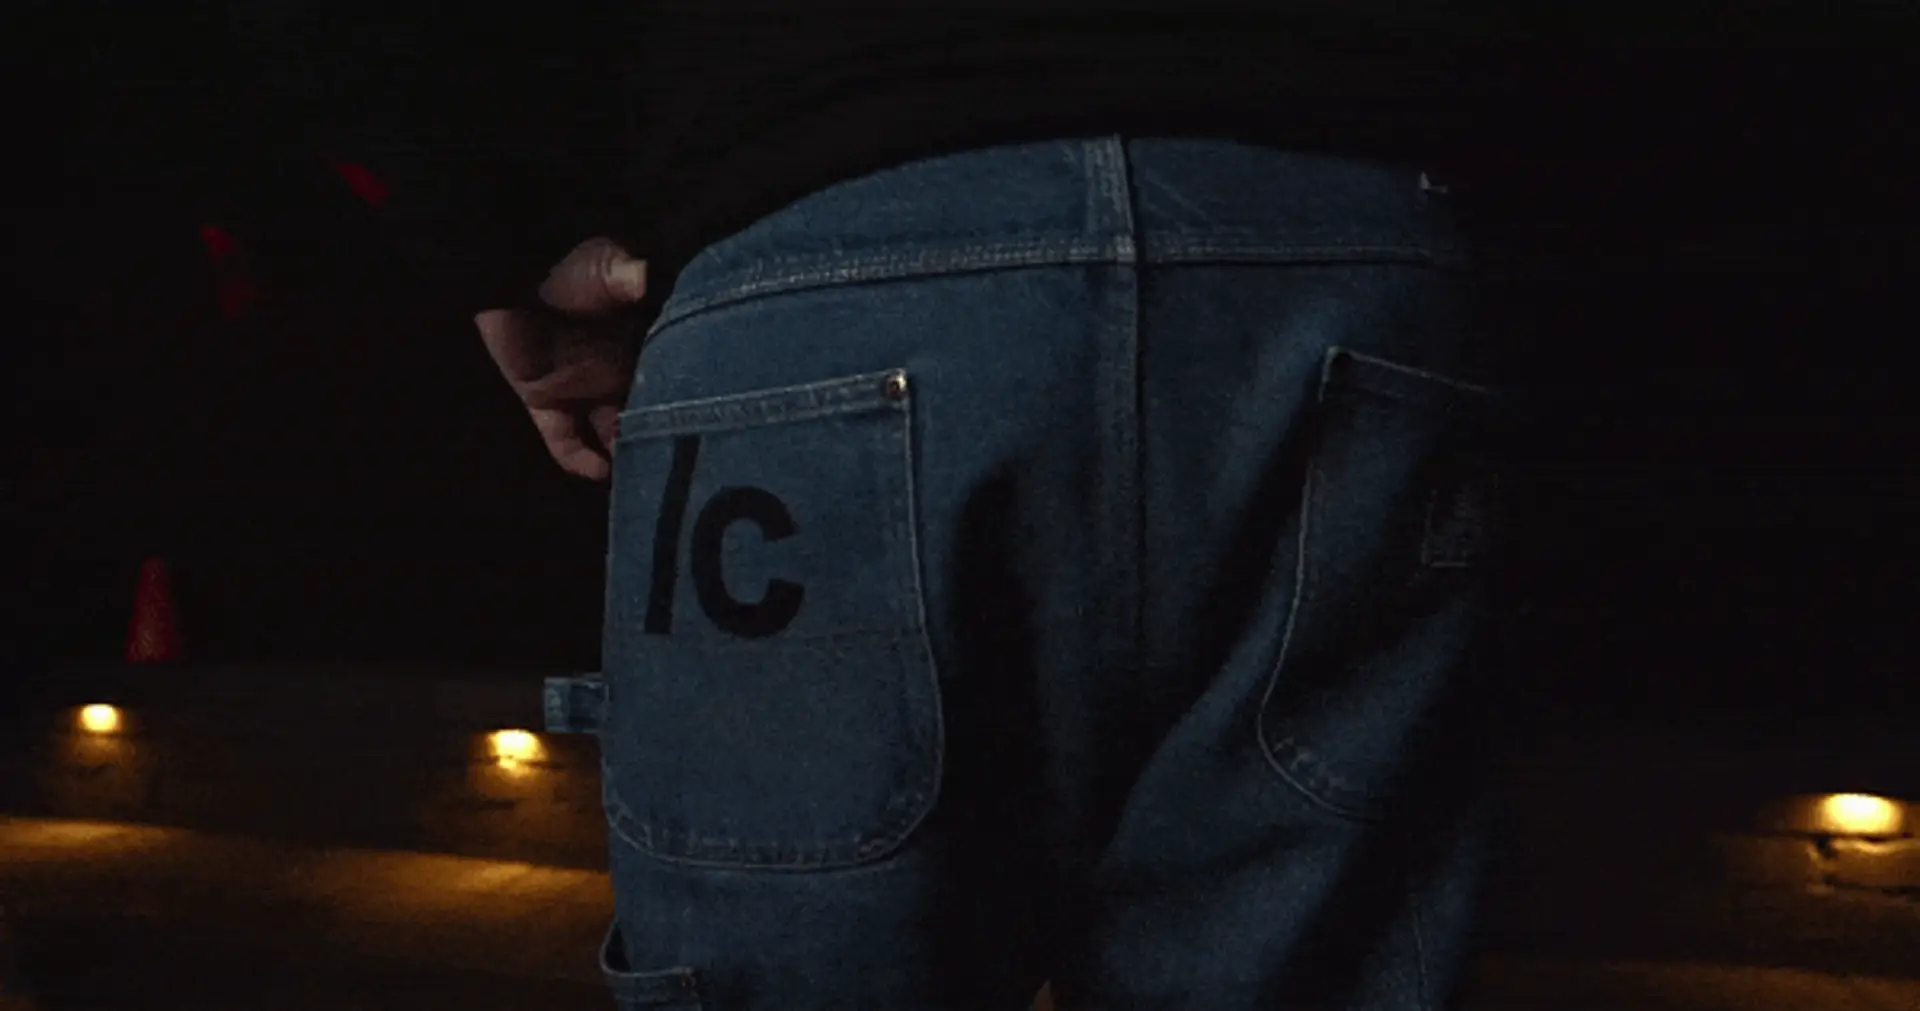
As we began the second year of Counter, we decided it was about time to establish a company uniform. This is typically a straightforward process. Create a design, and send it off to a custom t-shirt company for manufacturing. At Counter, we like making our lives difficult. So instead of following the convenient, well-established approach, we decided to attempt in-house screen printing.
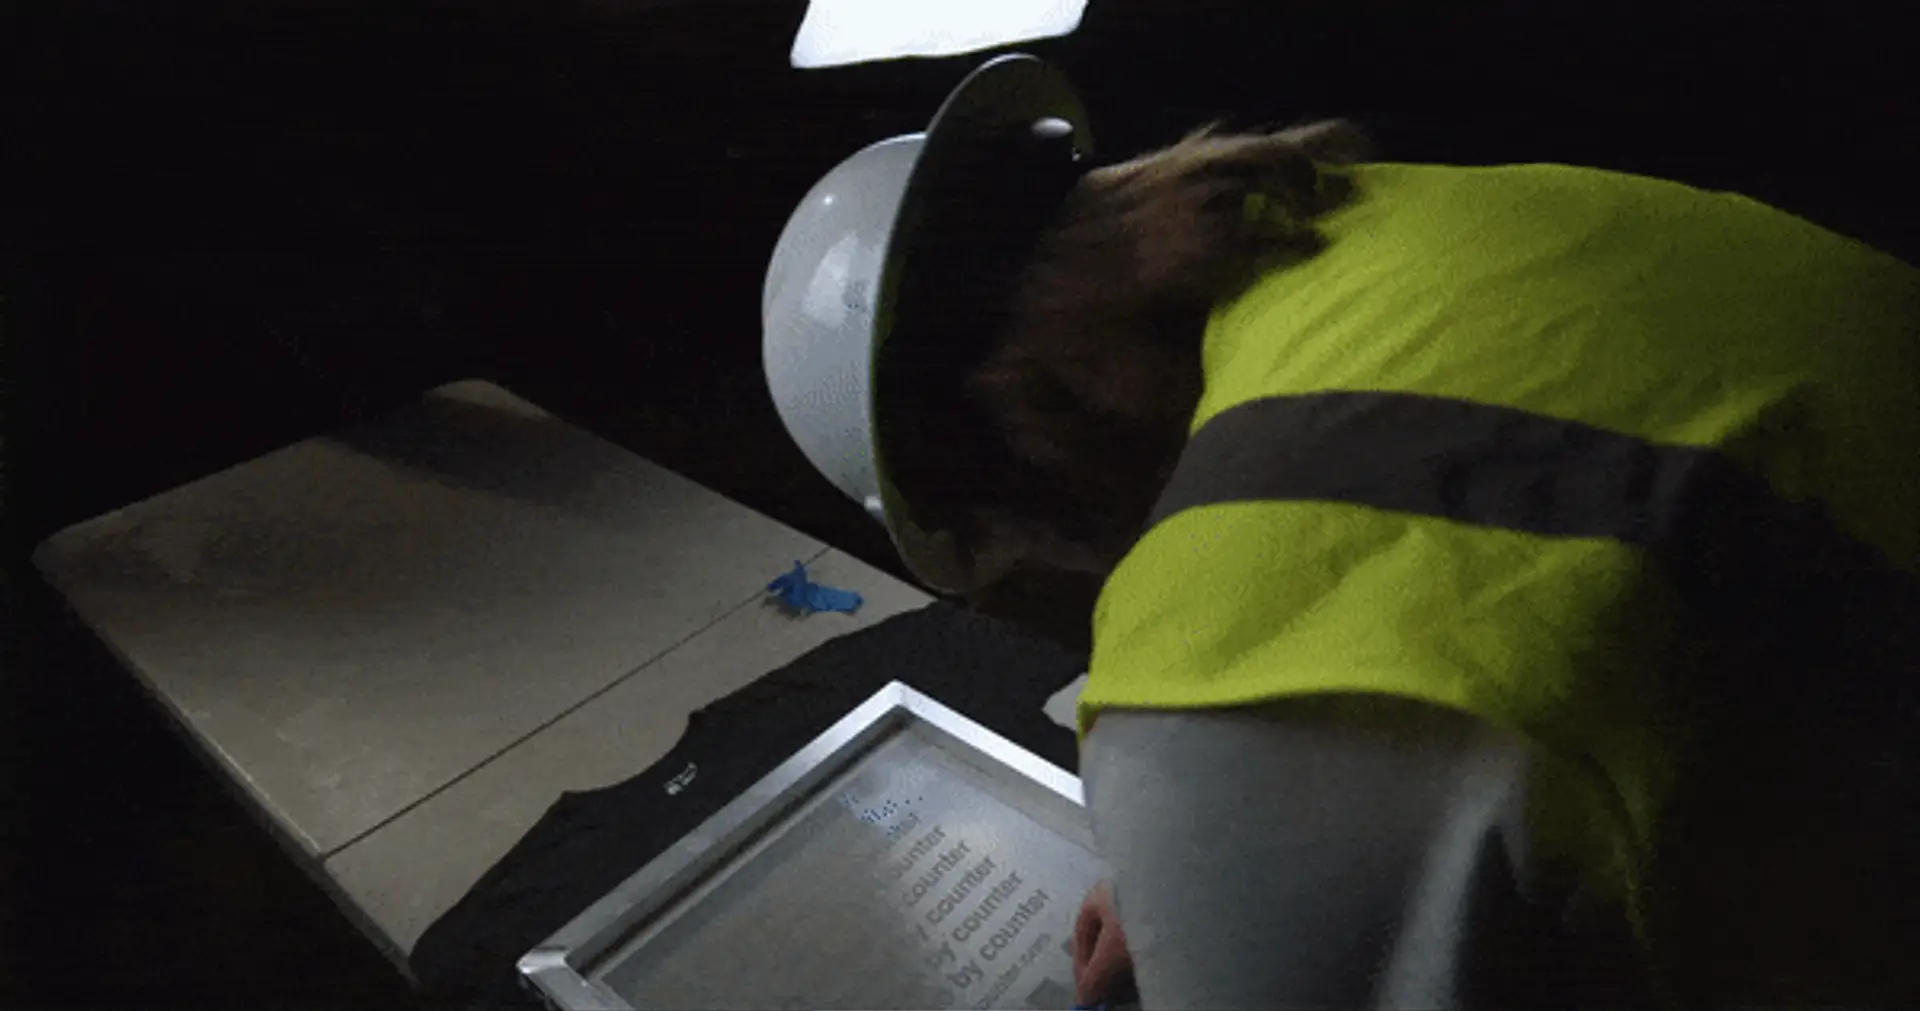
For those unfamiliar, screen printing t-shirts is relatively straightforward. The screen itself is essentially a mask that evenly distributes the ink where you want it. You align it on top of what you plan to print on and scrape the ink across it using a squeegee. After a few passes, you remove the screen and dry the ink using a heat gun or iron.
While this seems ridiculous at first, there were a few good reasons we decided to go with this method. Typically when ordering from a custom print company, pricing scales based on order size. Since we only needed two tees each we wouldn't be able to utilize bulk ordering discounts. Ordering a screen allows us to pay an upfront cost and then purchase the blank t-shirts on our own time. Additionally, once we had the screen manufactured, we could theoretically print on any article of clothing we liked–allowing for flexibility down the line. Henry, our photographer and graphic designer, also used to work at a local screen printing store, so we weren't going into this experience completely blind.

We set up shop around 7 pm in William’s backyard using a folding table. At first, we struggled with consistency, but after some trial and error (and for Henry to get his "touch" back) we were able to start seeing good results. Once we’d completed the first round of printing we realized we would be in for a long night. We were only a third done with the prints, but it was already midnight. After canceling our obligations the next morning, we decided to push through and wrapped up at around 5 am.

Some lessons learned:
- Make sure you have sufficient time, our setup and practice took almost three hours.
- The less design complexity, the better. Our print required three separate passes with the screen. For six shirts, that ends up being eighteen passes.
- Have a flat surface to press against. Putting a cardboard plate inside the shirt was our key to consistency.
- Don't melt your table with the iron!
At the end of the day, we’re happy with the results and are excited to wear our new shirts out on jobs. You can check out a short video of the process here.
Thanks for subscribing!